
How to recycle clay
Clay is a natural material coming from the earth. It is kind of special because it can be manipulated, used, pinched, turned, dried, made into slip and also recycled. Raw clay should not be thrown away, it can be used, reused and reused again...
The important part to mention, is that only greenware clay (clay that hasn't be bisqued or glaze fired) can be recycled or reclaimed. Once clay has been fired, the chemical composition has changed and the clay can no longer be recycled.
But for those pots which didn't turn out quite how you wanted or for little pieces which dried, became overworked or were leftover, the clay can be recycled and made into new pots!
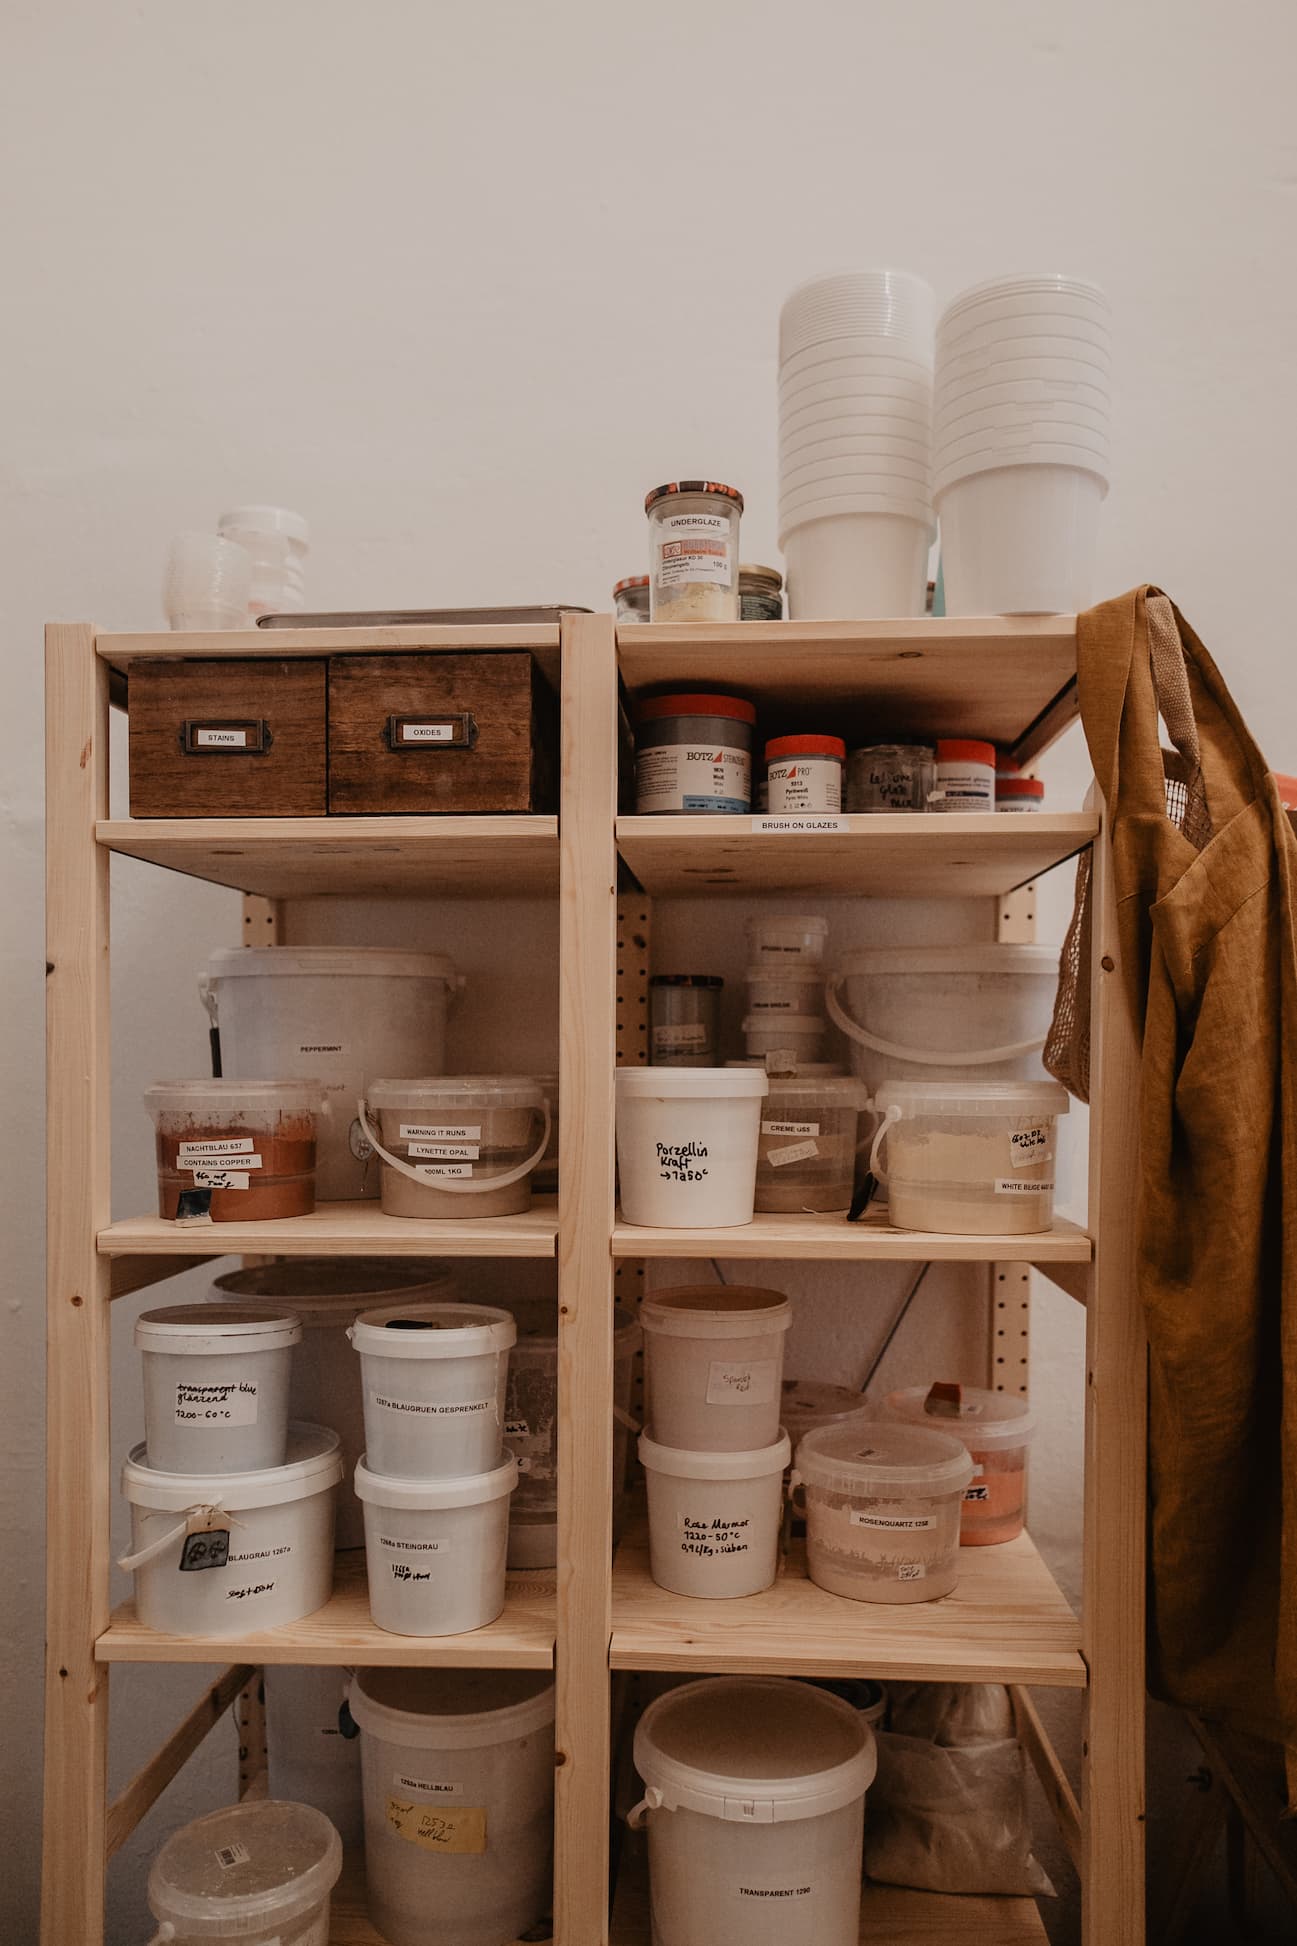
If you use various clays, you can either separate them into different buckets to keep the clays separate or you could mix them together in one bucket (providing they can be fired to the same temperature) and make your own special reclaim clay. This is the option we do in our studio - we love the different coloured clays we achieve through mixing different clays together!
Here is the process for recycling clay. It seems like a lot of steps but it is actually very easy.
Equipment
- 2 buckets
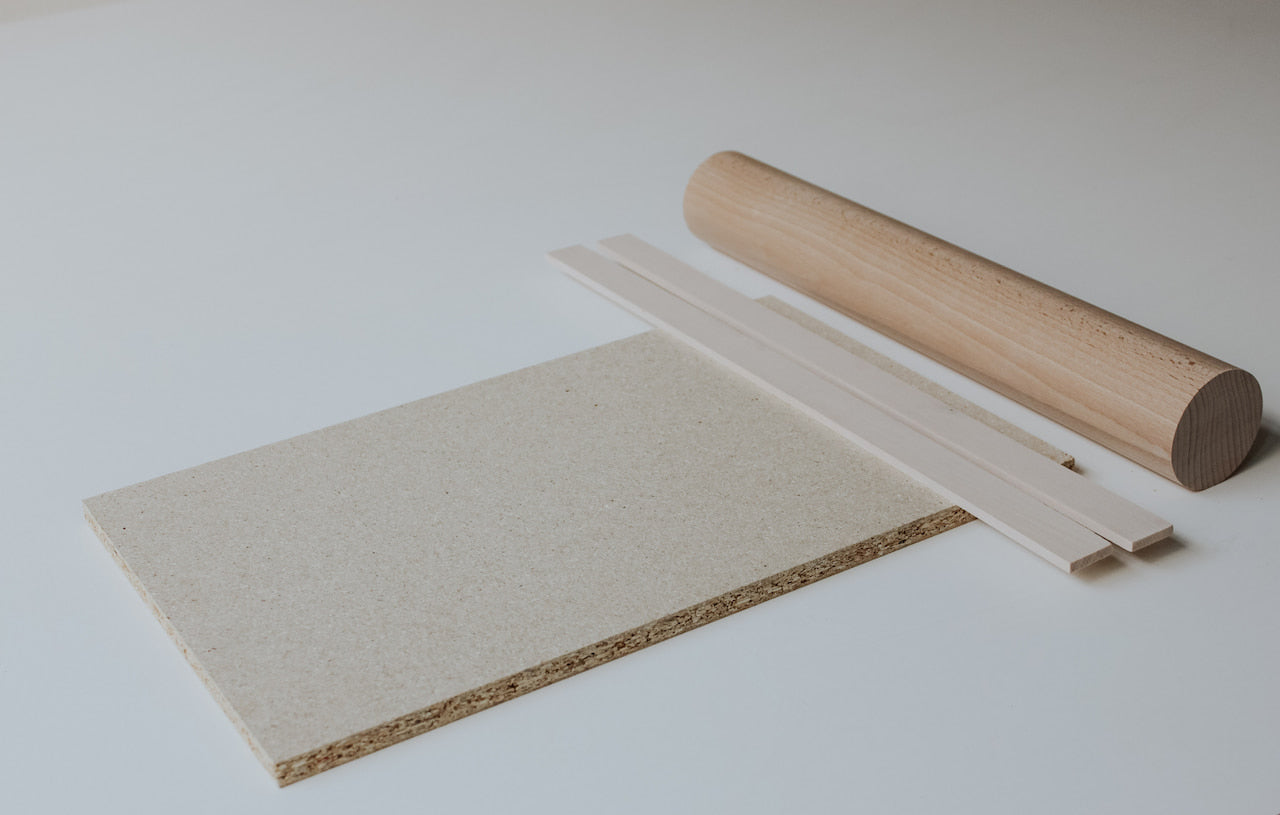
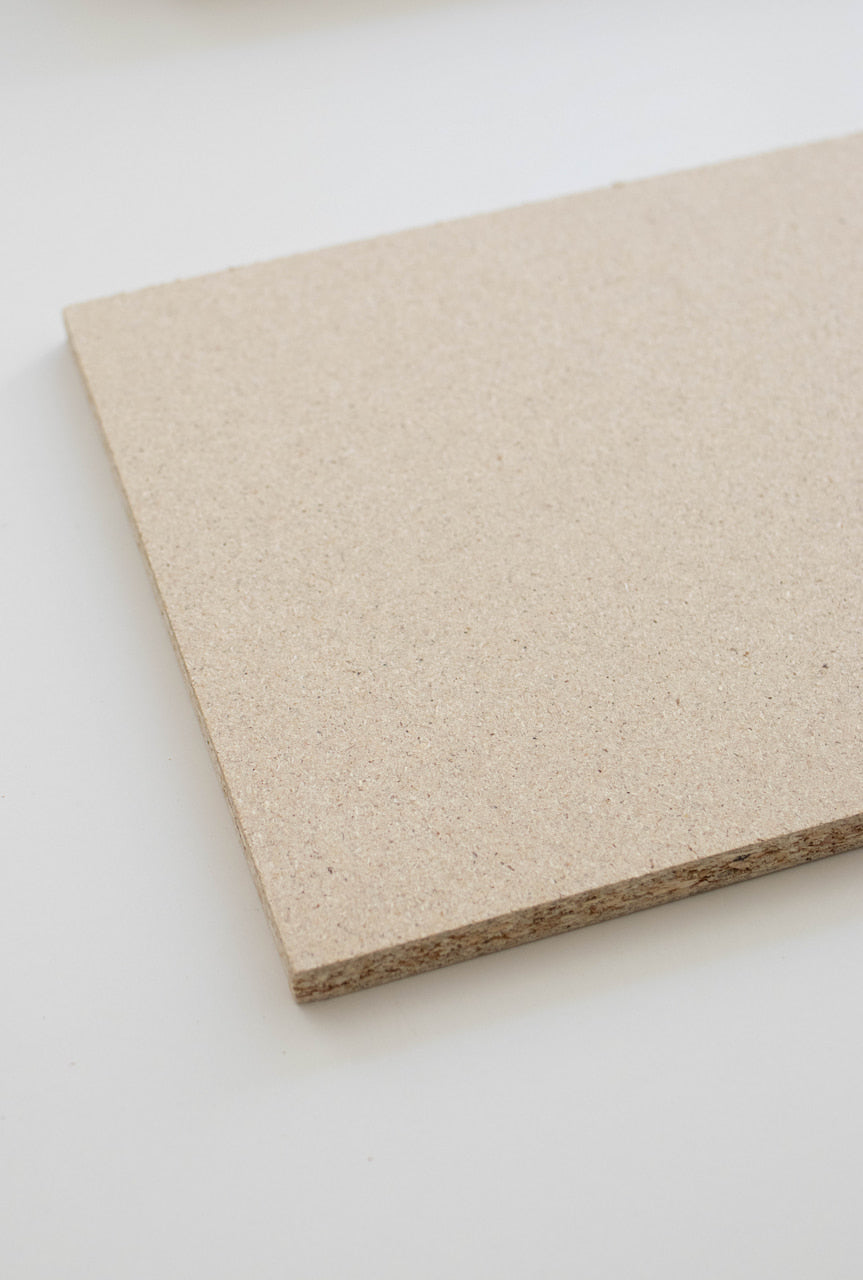
- plaster board
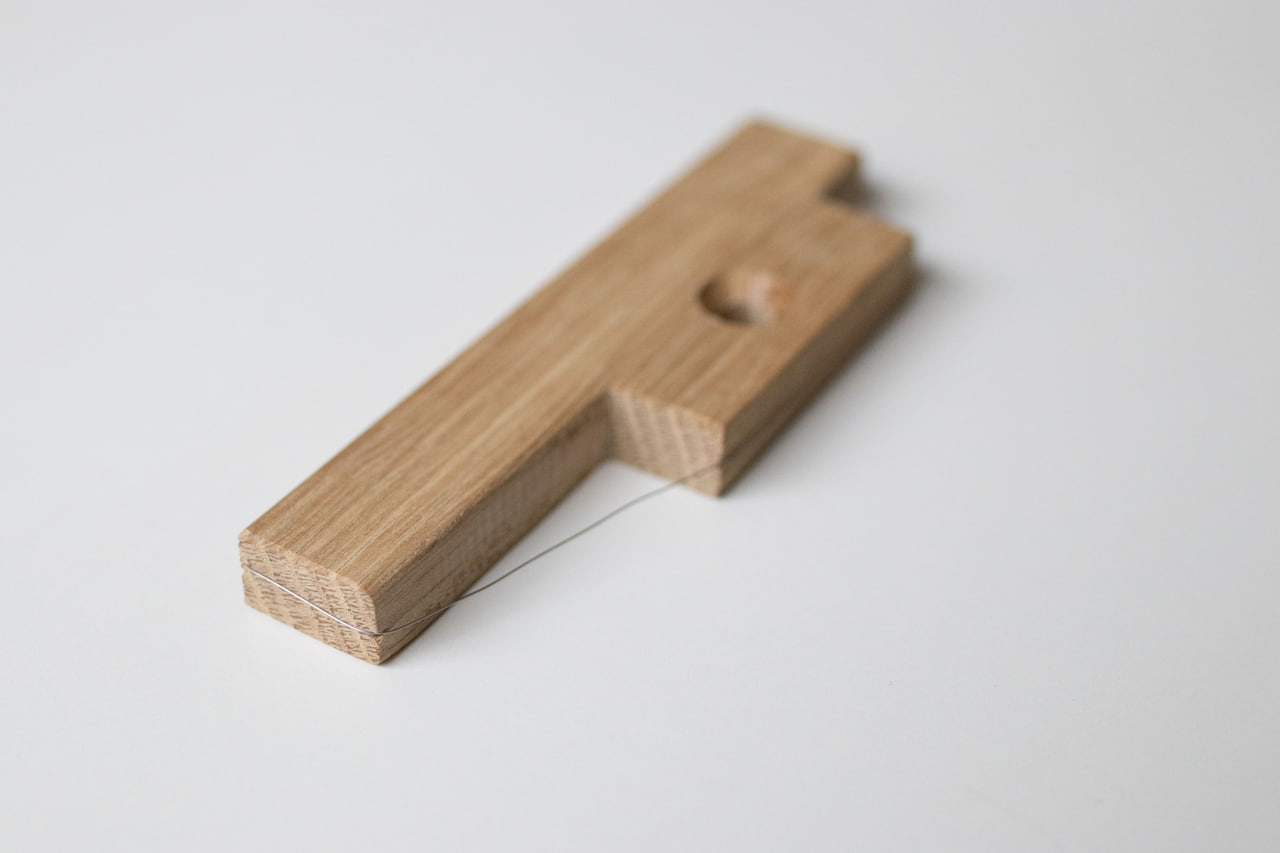
- wooden stick
- spoon (you could use an old wooden cooking spoon)
- optional: stick blender
Method
- One bucket will be the "wet bucket". This can collect wet slops of clay and leftover water used from the creative process.
- One bucket will be the "dry bucket" - this will contain the leftover bits of clay.
- Break up the leftover bits of clay into smaller pieces when adding to the bucket - it will make it easier for you later.
- Once you have a good amount of clay to recycle - ensure that it is bone dry.
- Then add the watery clay mixture from the wet bucket to the dry bucket. Make sure that the clay is just about covered. Then *listen* to the noise of the clay getting rehydrated. It's magic!
- Leave this mixture to slake for a day or two.
- Once the clay has broken down and there are no large clumps, give it a stir with a wooden stick to get everything mixed.
- If you have a stick blender you could give the mixture a blend - this helps to make the texture more uniform and evenly mixed.
- You can then tip or spoon the reclaim clay on to the plaster board. It will be quite watery. I then add indentations into the surface of the clay with the stick, to allow it to dry a little quicker and more evenly. The plasters job is to absorb the water, gradually turning the clay from a liquid to a more solid state.
- You need to keep an eye now! It could take a few hours or a couple days for the clay to slightly dry out - depending on the amount you made.
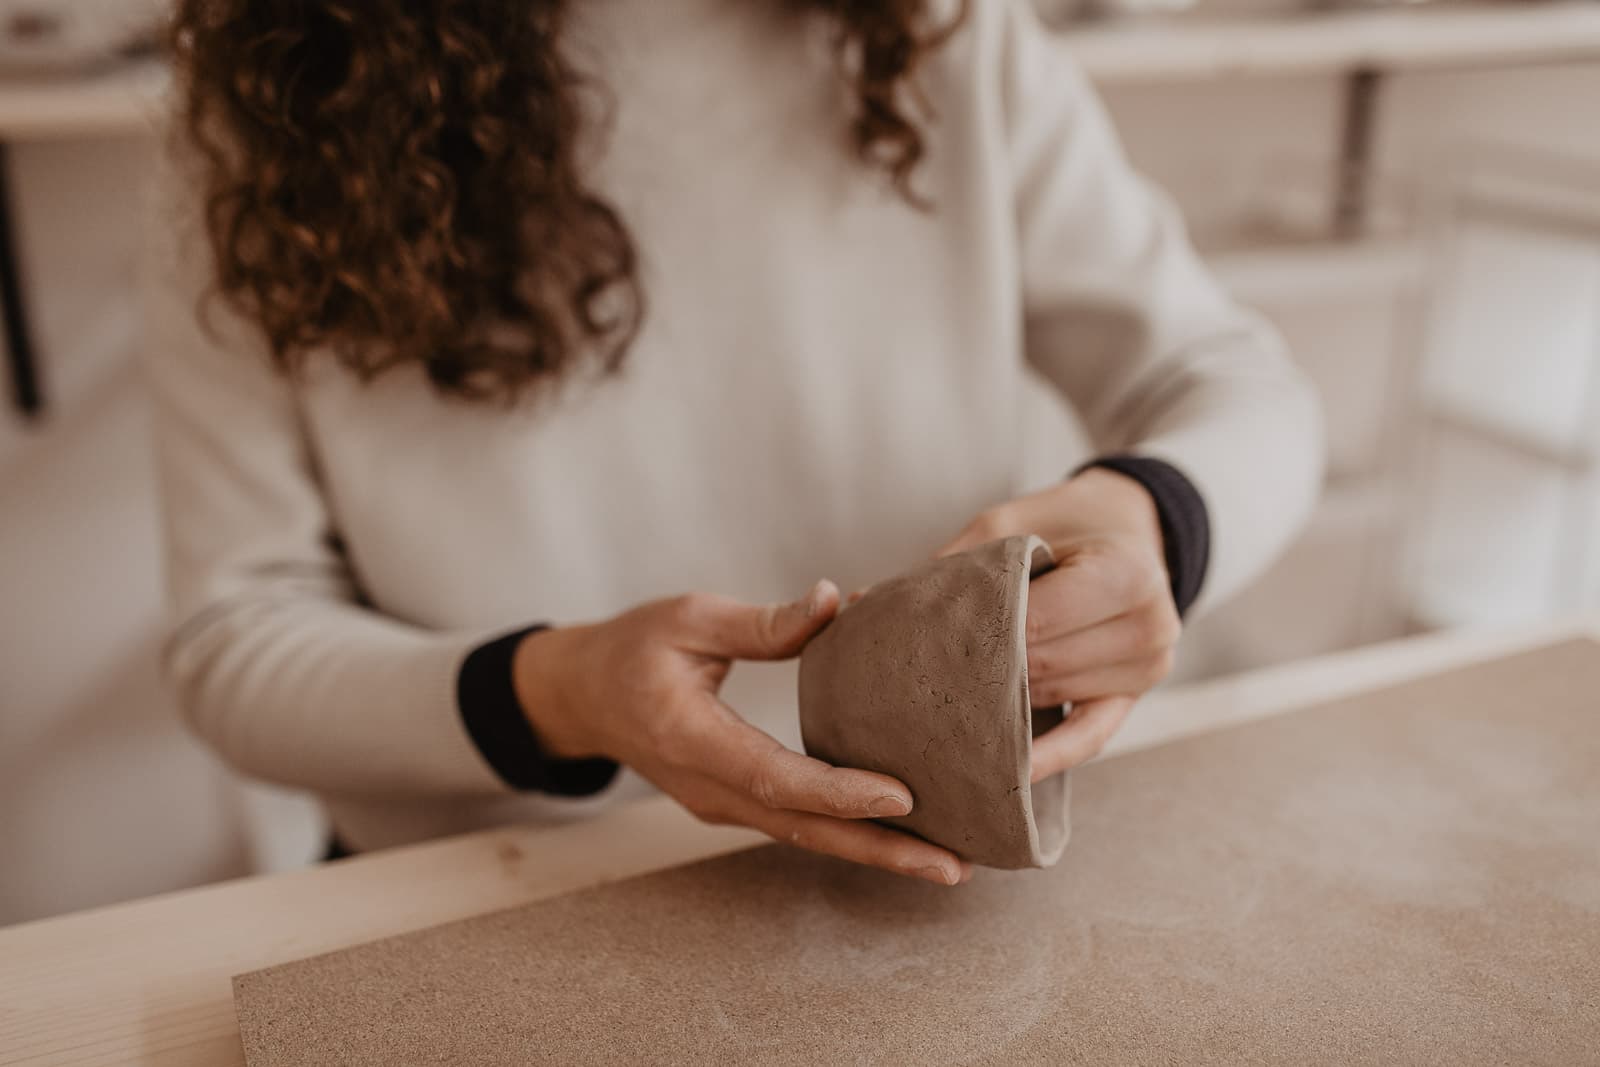
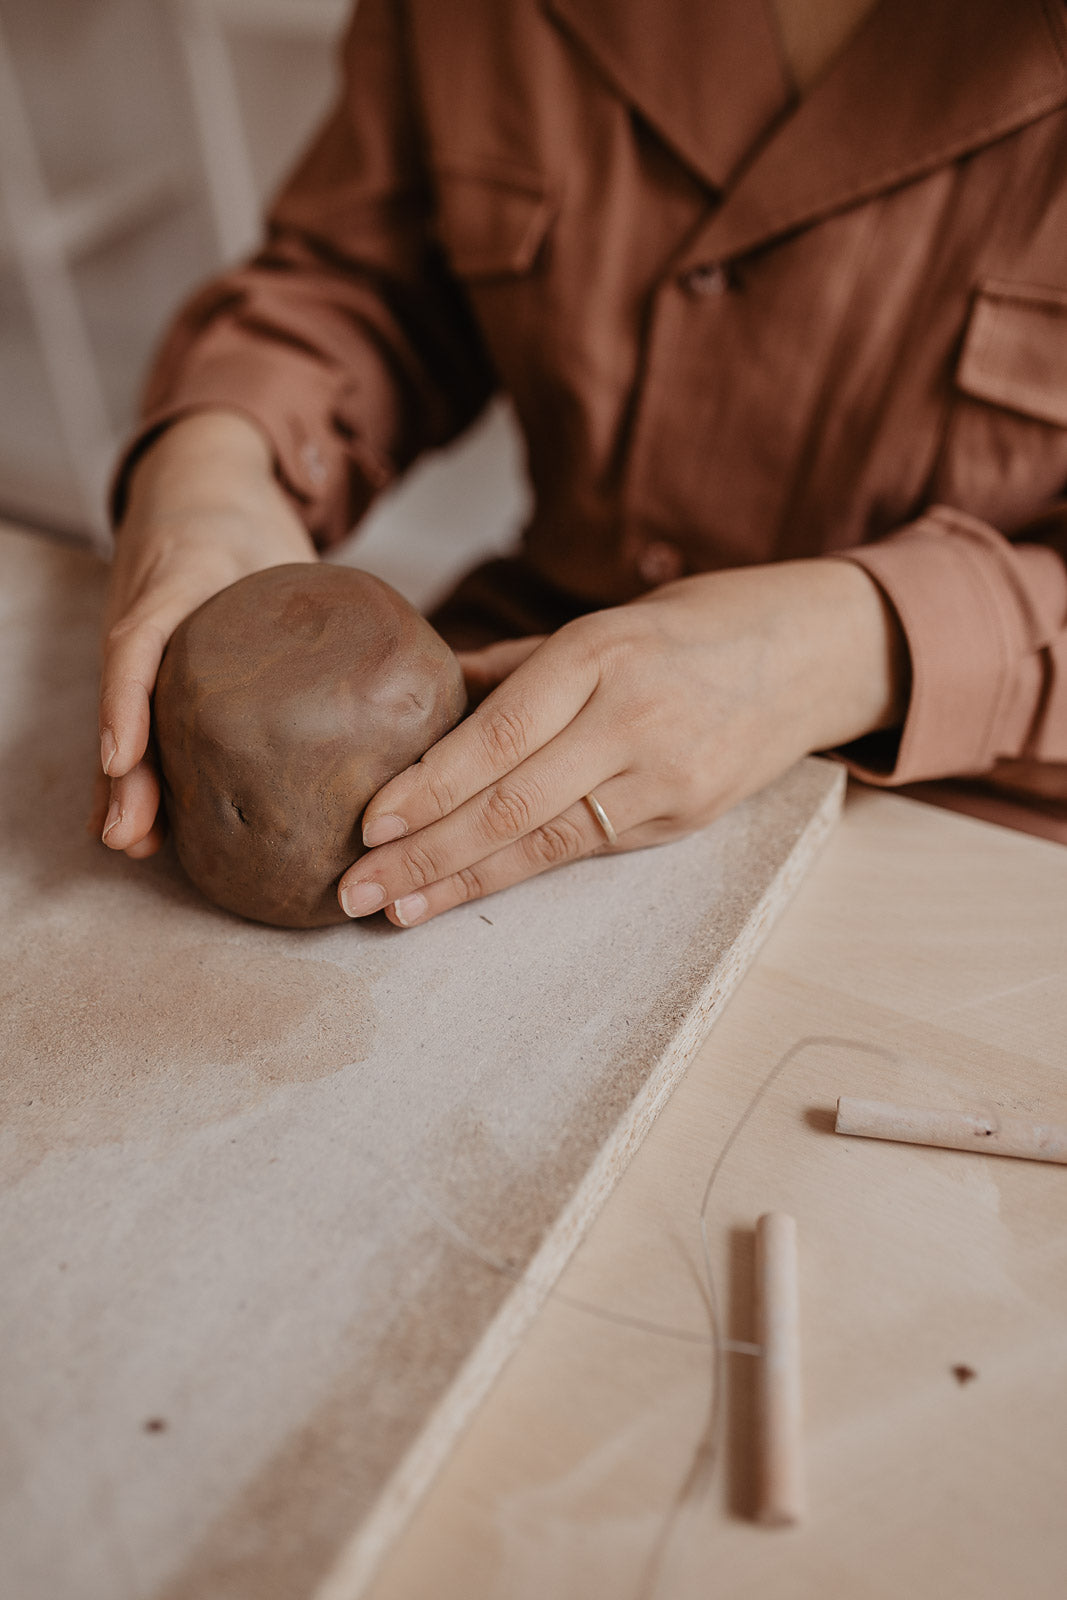
- Once the clay is not too wet but also not too dry you can ball up the clay and give it a good wedge. You want to be able to turn the corners of the clay up and fold it in on itself without it being too messy. If the clay breaks or snaps, then it has dried too much and you will need to start again.
- Once you have wedged the clay, you may want to leave it a bit longer on the plaster board at this time to get it to the right dryness before bagging it up.
- Then you are good to go and make more pots!