Understanding your kiln: how to measure heat variations in an electric kiln with PTCR (process temperature control rings)
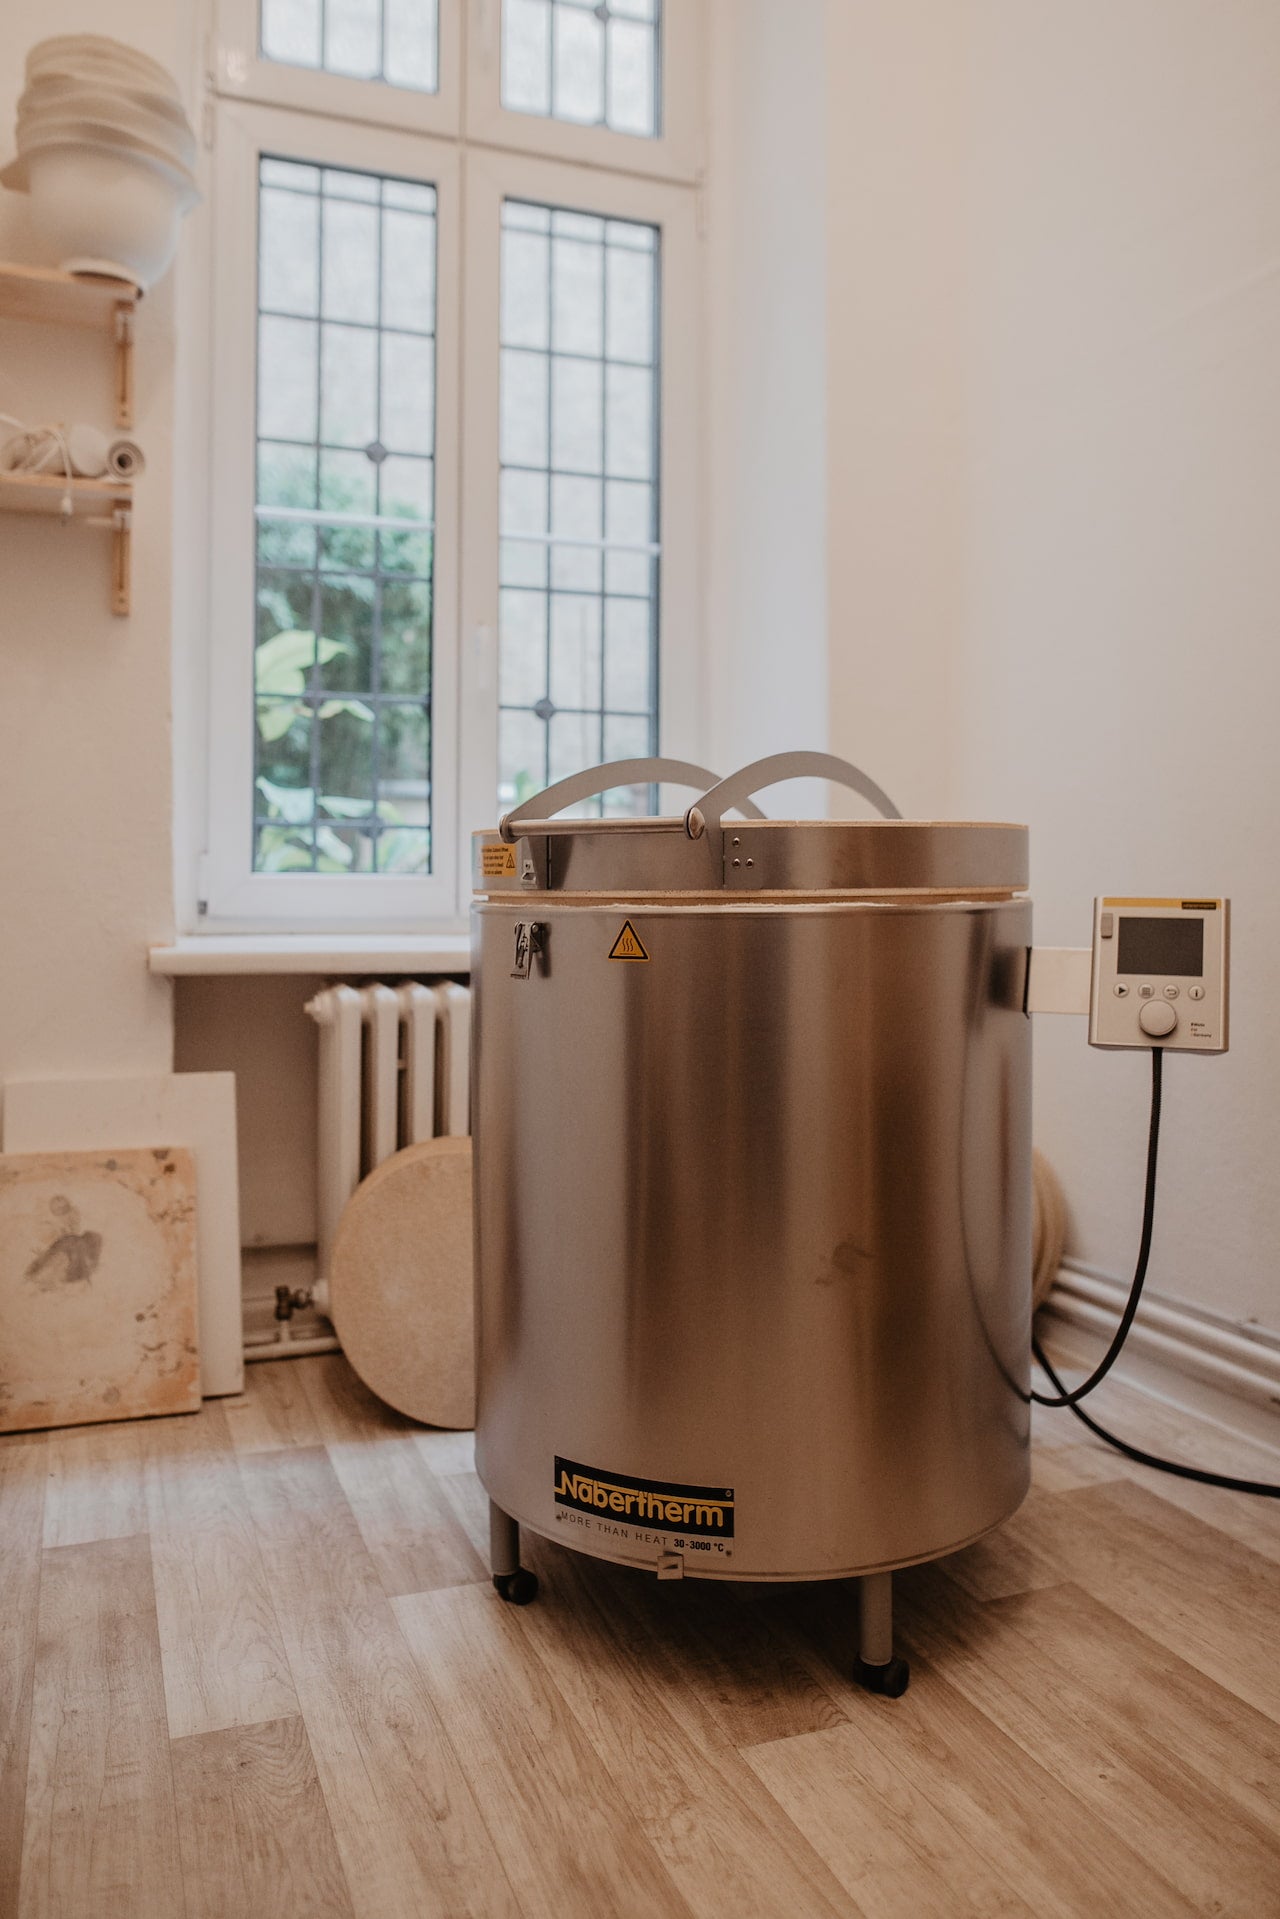
Modern electric kilns that are typically sold in ceramic stores and online are fairly simple machines: their job is to keep heat inside to allow for the wares to reach maturity. When you program a kiln to reach a certain temperature, this does not mean that the entire kiln will reach the same temperature uniformly. There is no way to tell from the controller that, for instance, a piece on the bottom shelf away from the elements has not really reached cone 6, even though the firing was successful.
Heat distribution varies wildly in the kiln and depends on a range of factors: the amount and positioning of kiln elements, the amount of work in the kiln, whether the piece is packed further away from the elements, the health of the elements, and so on. We have all noticed that sometimes a glaze will look slightly different from firing to firing. Small inconsistencies can be charming and part of the hand-made nature of our craft. However, since everything in ceramics is science, there are ways to investigate how a firing actually went and compensate for inconsistencies.
Measuring heat in the kiln

Typically, potters will add pyrometric cones to kiln firings. These are little triangular cones made of ceramic materials that will react to heat work (temperature over time), by melting and slumping over at an angle. The angle will indicate the maximum temperature reached by the kiln. Cones should be positioned in different areas of the kiln and on different shelves, in order to identify colder spots. Like with any measurement, the best results are obtained by consistently using cones across various firings. Using cones will also allow you to notice when heat elements start giving in, as the kiln may not reach temperature in more and more zones, even before you get any warnings.

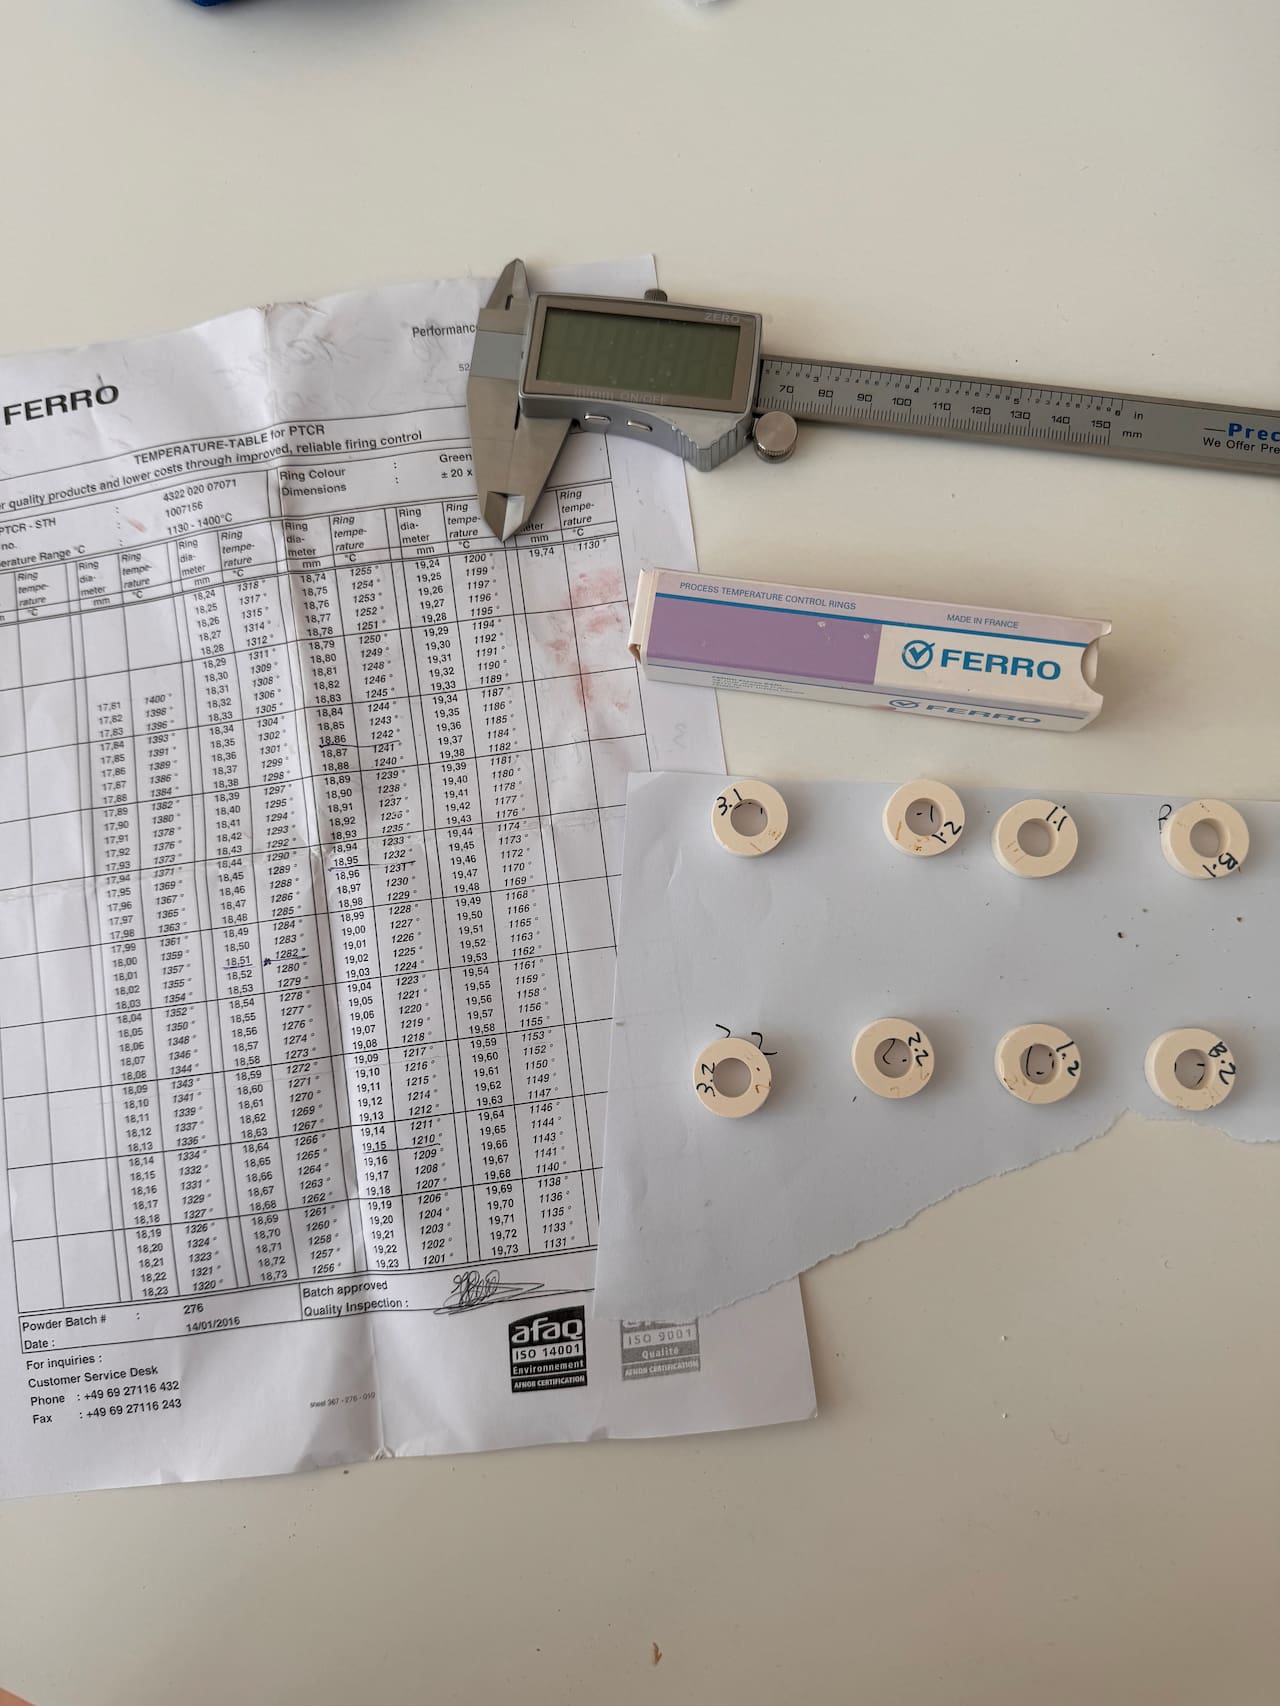
Another method is to use PTCR (Process Temperature Control Rings). This is what we have used in our smaller kiln (Maggie) and what we will illustrate in the rest of this blog post.
PTCR are made of ceramic material and will shrink proportionally to the sintering time and temperature. The amount of shrinkage, which is measured with a micrometer, can be converted into temperature by using the chart provided by Ferro. It's important to understand that we're not actually measuring an absolute temperature. We are measuring the result of heat work, which results in a specific amount of heat being absorbed by the rings over time. The rings will keep shrinking as long as the peak temperature is reached. Effectively, this helps us determine cold and hot spots in the kiln.

In our case, we positioned 2 rings on each shelf on opposite sides (we had a total of 4 shelves in this firing). We noticed that the middle of the kiln was the hottest zone, while the bottom seemed to be the coldest, which is logical.
In order to accurately measure results, you need a precision micrometer. The ring should be positioned so that the T (one on each side) is on the indentation of the measuring tool.

What to do with this information?
The measurement should take place over time and multiple firings. If consistency is an issue and in some areas pieces do not seem to reach maturity, the firing schedule should be adjusted. An important part of the firing schedule is soaking: a specific amount of time that the kiln will stay at the target temperature, before stopping. Soaking is used to help with heat distribution in the kiln: by staying at the target temperature, there is time for the colder areas to accumulate more heat and the pieces to hopefully mature properly.
Soaking times need to be adjusted also in accordance with the size of the kiln. When we bought our second (and smaller) kiln, we adjusted the soaking times in the firing schedule we normally use, so to allow for better heat distribution in this kiln. Constant measuring is important, however, as heat elements wear off after a number of firings.
